How to - the Handywoman's diary
Kimberley King (No job too easy - quick, sympathetic and effective maintenance and repairs)
1 June
You can do it - Patching up plaster
Well this month I've not had any jobs from my regular client. So I've been at home and picked up a few other little jobs here and there. But I thought, maybe I should tidy up a few things at home that have been waiting for me. You know how it is - home improvement is a bit of a busman's holiday for a handywoman. The main job I've been doing is replastering bits of wall which have suffered from damp.
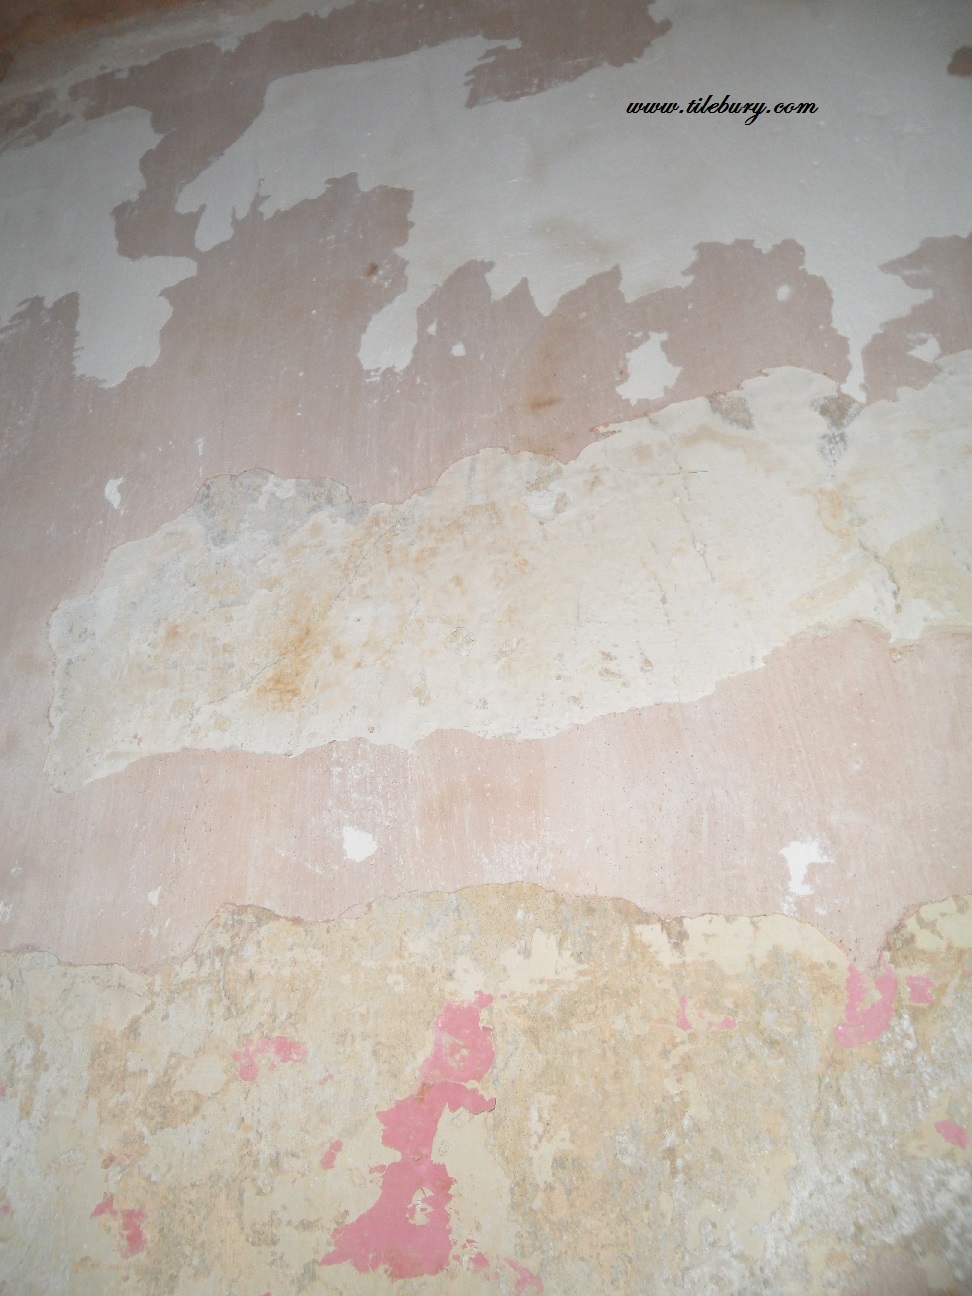
Plaster
I'm going to start this time with a bit of a warning. You know what I'm like - I think you shouldn't be put off anything and should just have a go cos usually its easier than you're gonna think. But this time - just be aware that plastering large areas is a real challenge.
Not because it's hard in itself. Plastering a small area is dead easy and that's what I'm going to tell you how to do. But know your limitations on larger areas. Plastering is time critical, and you have to be sure you can be fast enough to do a large patch. So small area (maybe 1m x 2m) fine - easy. Large area - think about it before you start.
Second thing - is know what kind of plaster you have. Most newish buildings - straightforward normal plaster. But lots of old houses have lime plaster. Trickier. If you have lime - don't patch it with normal stuff. If someone's done that in a corner of your house - give me a call. I can sort it out, and at the moment I've got some time in the diary.
So here's how it goes.
- You'll need plaster - get a big bag of one coat plaster and follow the instructions to mix the plaster - do this in a big gorilla tub - you can use a stirrer attached to a drill if you have one. The trick is to be able to lift out the stirrer and a little peak should stand up afterwards without dripping back into the mix.
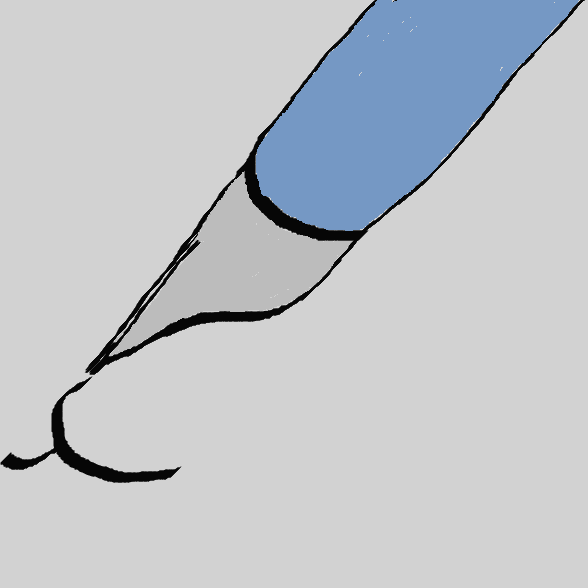
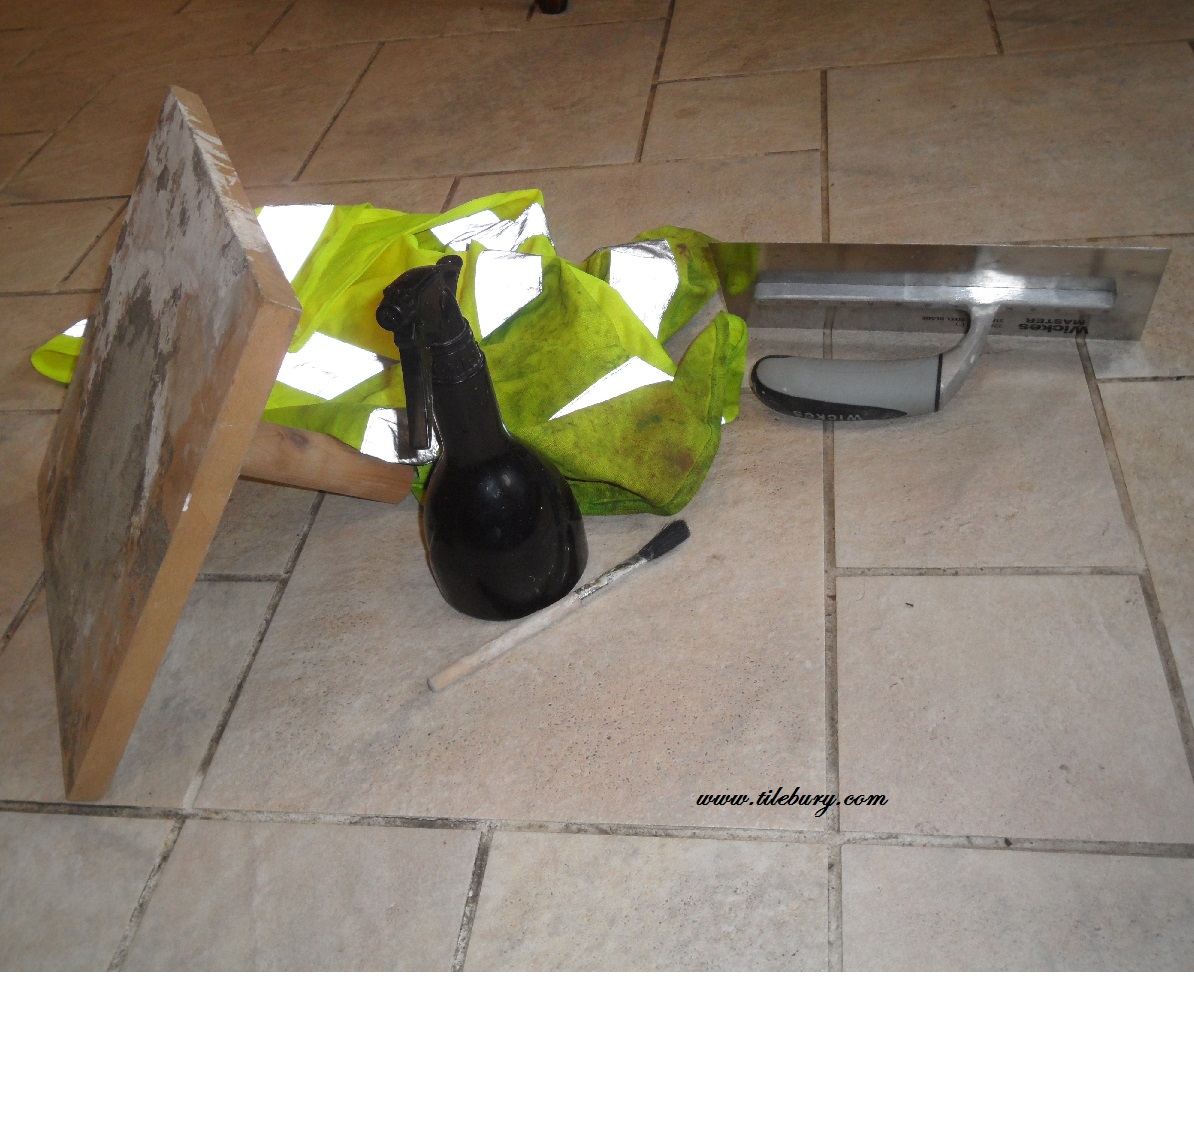
- Then you need a plasterers float (rectangular metal blade with a handle. Get a stainless steel one - the price is greater but the difference is important), a hawk (small wooden plank with a handle underneath), a spray bottle full of water and some kind of spatula to lift the mix out of the tub.
- Key the wall - that means scratch it to get a rough surface so the paster will stick. Splat some plaster on the hawk and then lift off using the float. Press the mix into the wall at a sharp angle and push the float upwards on the wall as evenly as possible with long sweeps.
- Keep pressing into the wall. Spray the surface now and then. Sparingly - don't get any drips. And keep pushing upwards and running with long sweeps until everthing is flat. The layer should be only a millimetre thick.
- Leave it for half an hour then key again and put a second surface on. This is the top surface so must be perfectly flat.
- Clean everything very carefully. You mustly allow the float to rust.
Easy A?
My regular client.
Its been a bit dull this month without any work to do for my regular client. So I've spent a fair amount of time round at Heather Reedman's studio. She does some most amazing sculpture and I have been able to help her erect them and make them robust against weather and vandals.
I've been really impressed by her work and she has been teaching me some little tricks to make my own woodwork more precise. I'm very grateful.

I've only seen my regular client once and she didn't speak to me so I am very worried something has gotten misunderstood. If she wants to contact me and talk about it I'd like to find out what's gone wrong and ask her forgiveness. I rather miss her and there was so much to do at the churchyard and in her house which must still be waiting.
Articles from other months are linked from the side bar.
Please address all communications for the attention of The Editor, The Mews Office, Market street.
We have a box at the post office for ideas and notes.