How to - the Handywoman's Diary.
Kimberley King (No job too easy - quick, effective maintenance and repairs)
1 February
You can do it - Putting up fences
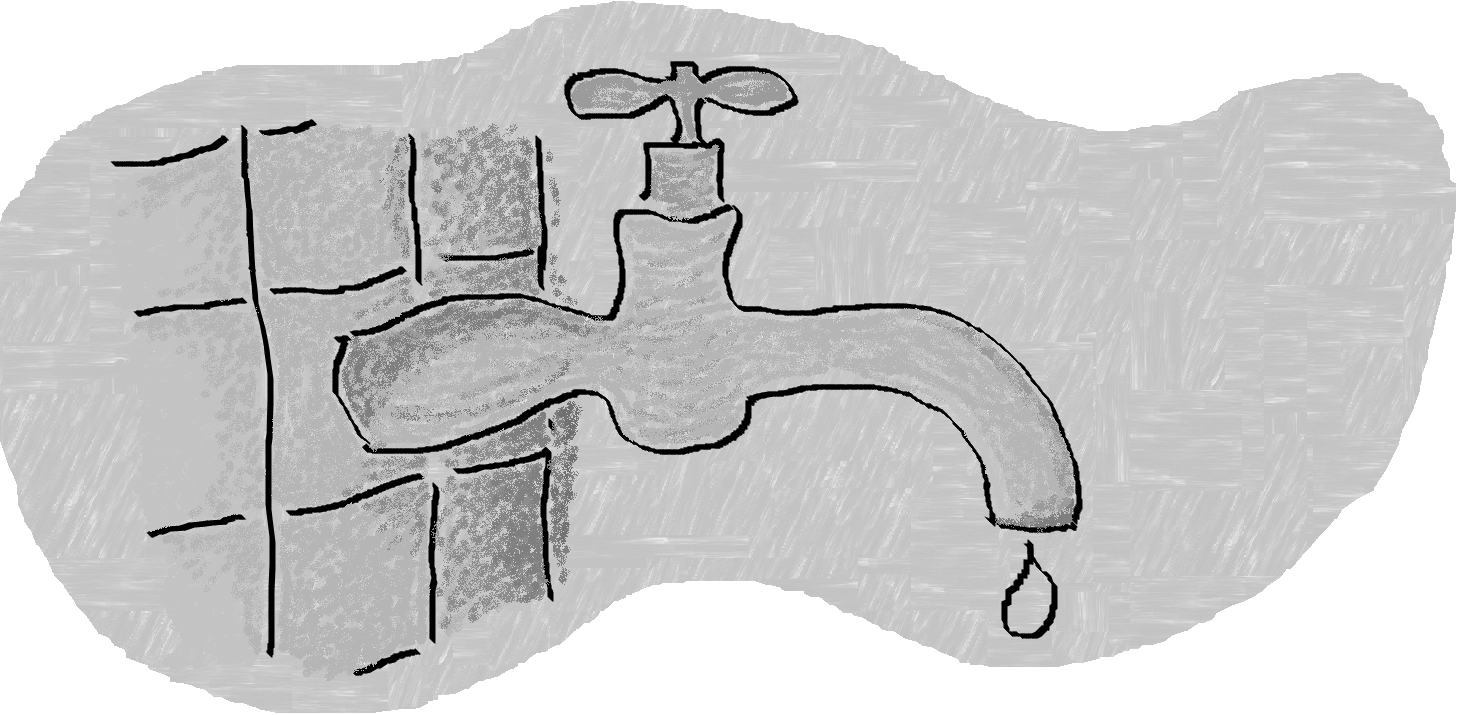
Well, I'd only just finished that sink-job I was talking about last time, when the same nice lady who gave me that work was on the phone again because of the garden. "Hello Kimberley - do you do fences?" she was asking and, of course, I do - 'cos I do anything. And you can too.
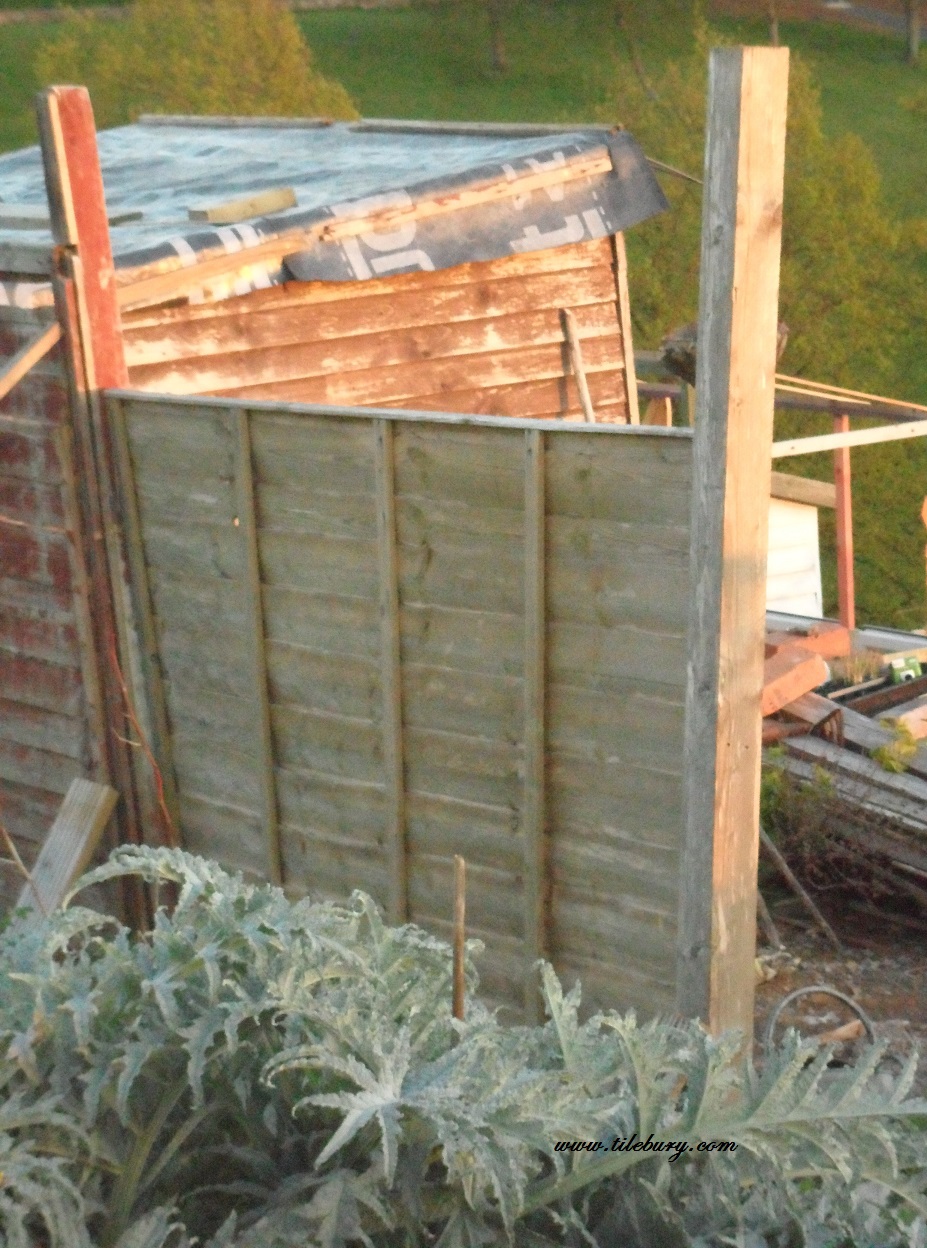
Battling with Nature
So I was back over there to look at the damage. And the damage was due to wind and - would you believe it - moles. Yes - moles, the little black furry guys, had been digging in the ground (where else) just behind the old fence. Lots of tunnels and scratching their holes messed up the ground and so, when the wind came there wasn't so much to hold the posts. They'd basically just caught the wind like a sail and tipped over in slow motion.
I was explaining this to my client who seemed very interested. She was worried about the moles. "Kim, will they be alright, if we put the posts back?"
I said, "Nature survives, Reverend" because it does. We shouldn't be too soft about it. "Yes - we mustn't fight against nature," she said. I didn't reply although that wasn't what I meant - because we were going to fight nature - kicking out the rodents and blocking the wind and so on. Isn't that what construction is for?
Anyway, my kind client is a very helpful lady and I was able to get her to lend a hand with the posts. Because, and here is a tip - putting up fence posts is a job for four hands (wearing gloves of course - look after yourself). Here's how you do it:
PUTTING UP FENCE POSTS
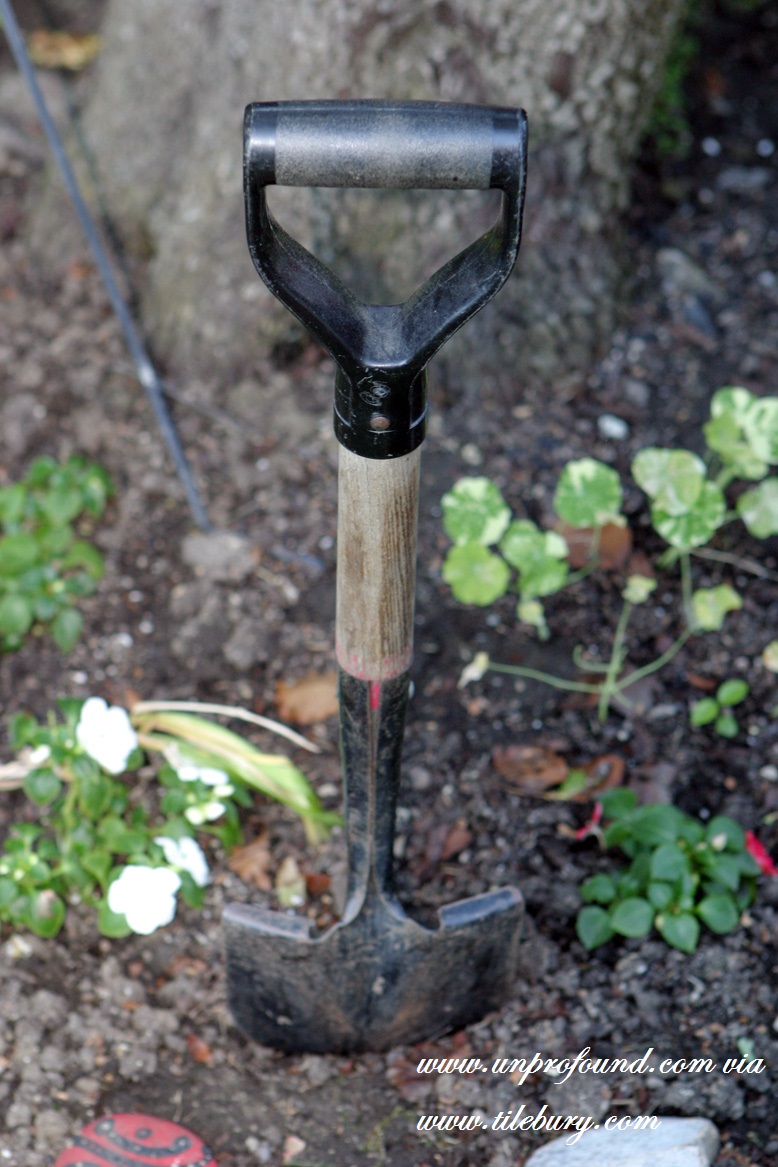
- Right, you'll need spades, as long a spirit level as you can find, a mallet cordless drill, screwdriver and some long screws. As well as the posts themselves you'll need some long pieces of sturdy wood. Also, you'll want a big bucket of clean water a load of rocks (about fist sized and smaller) and a bag of 'Postcrete' for each post. Postcrete is the stuff you use to avoid needing a concrete mixer and you can get it anywhere (not greengrocers obviously).
- Dig a hole as wide as your spade and as deep as you can manage easily. Aim for at least a foot. This is the hardest bit. If the soil is weak or has been damaged by moles make it a bit deeper. Then use the mallet to knock the long sticks at an angle into the ground crossing where you want the post to be. Put the post in the hole. You knew that. Move the sticks to touch the post and knock them in firmly.
- Ask your client to hold the post vertical - this just needs to prevent it falling over. Then put a load of the rocks in the hole around the post and push them down. Use the spirit level to get the posts vertical in both directions. When you're ready screw the sticks into the post so they keep it upright.
- Then get your postcrete ready. Fill the hole with the water and slowly pour the postcrete in. Keep holding the post while the mixtures fizzes. Make sure the postcrete comes above the ground level and smooth it off into a rounded top.
- Leave.
- At the end of the day come back and pack any spare earth around the concrete. Remove the sticks and attach the panels.
Easy A? No excuses for this one.
Thanks for the biscuits
Also, my kind client was there to rally round with the refreshments this time too. And we had a really good conversation about all sorts of things.
It's really good when your client can also become your friend. I'd like to say thanks again to her for the biscuits she had baked this time. I'd recommend her baking to anyone.
Articles from other months are linked from the side bar.
Please address all communications for the attention of The Editor, The Mews Office, Market street.
We have a box at the post office for ideas and notes.